Are you contemplating the idea of framing your oil paintings yourself? DIY framing offers a rewarding and cost-effective means of showcasing your artwork. With the right tools, materials, and a sprinkle of know-how, you can craft a professional-looking frame that enhances the beauty of your oil paintings. This comprehensive guide is your go-to resource, covering everything you need to know about DIY framing for oil paintings, from selecting the types of woods to understanding various frame styles, cutting dimensions, and more.
Let's delve deeper into the art of DIY framing for oil paintings and unlock the secrets to creating stunning frames that elevate your artwork to new heights of beauty and elegance.
Types of Woods for Frames
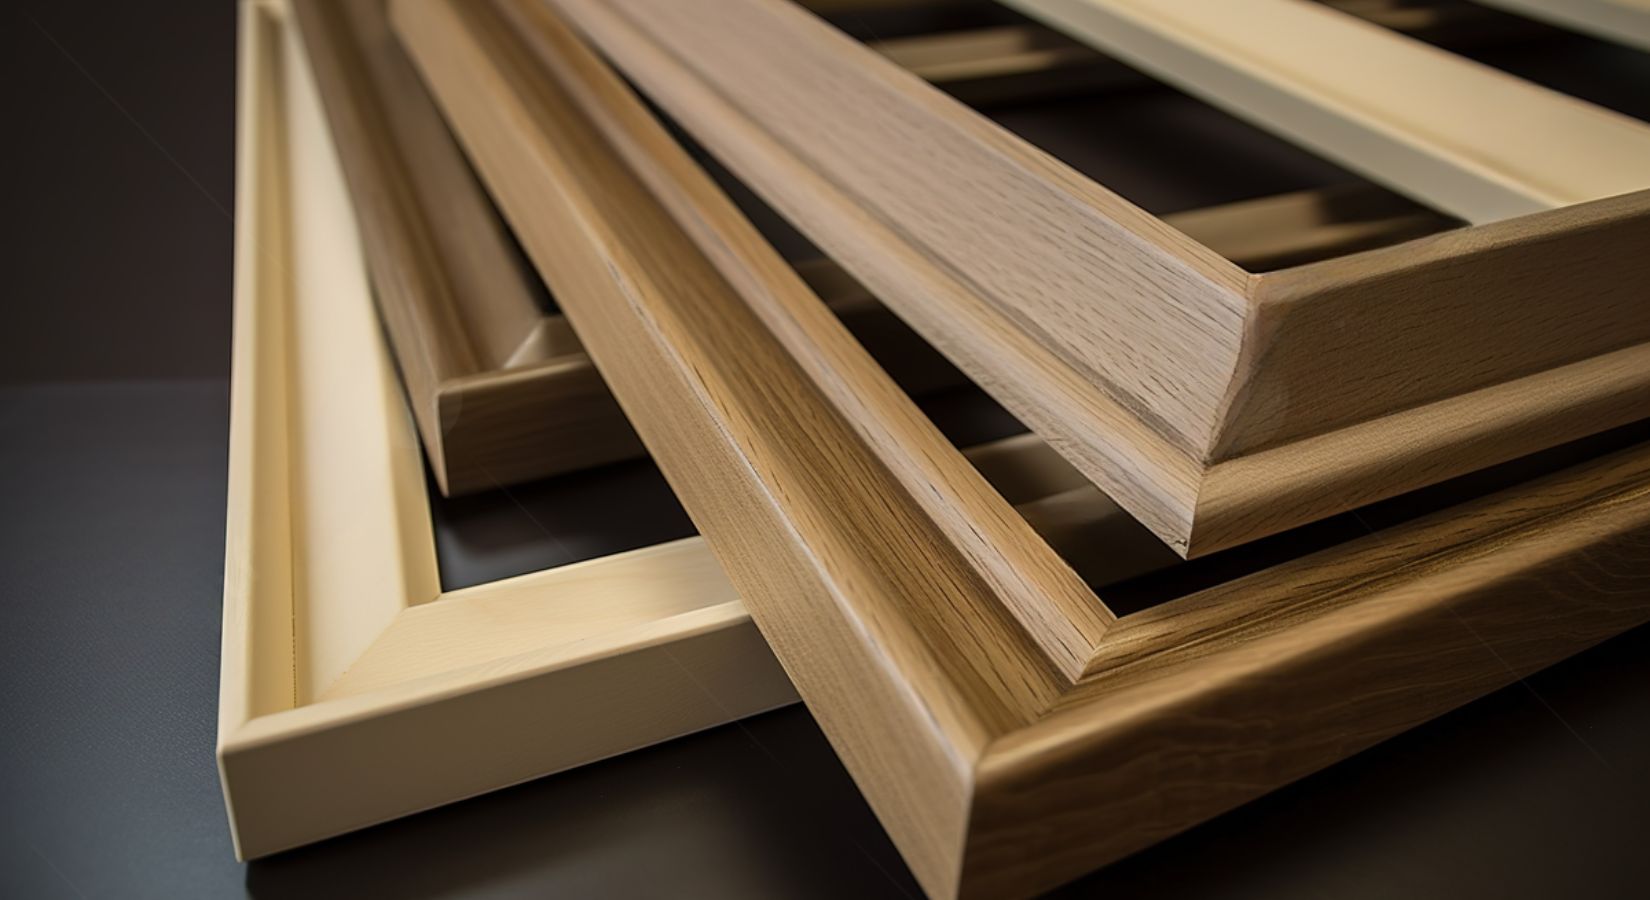
When it comes to selecting the perfect wood for your frame, the options are abundant. Hardwoods such as oak, maple, or cherry are popular choices, prized for their durability and ability to provide a beautiful, refined finish to your frame. Oak, with its prominent grain pattern, adds a timeless appeal to your frame. Maple, known for its light color and smooth finish, offers a modern and clean look. Cherry, with its rich, reddish-brown hue, lends an elegant and sophisticated touch to your frame. On the other hand, softwoods like pine can also be used for framing, but they may not be as durable or provide as refined a finish as hardwoods. Pine, however, offers a rustic charm and is more affordable than hardwood options.
Styles of Frames
There are several styles of frames you can choose from, depending on the look you want to achieve. Some popular styles include:
Gallery frames
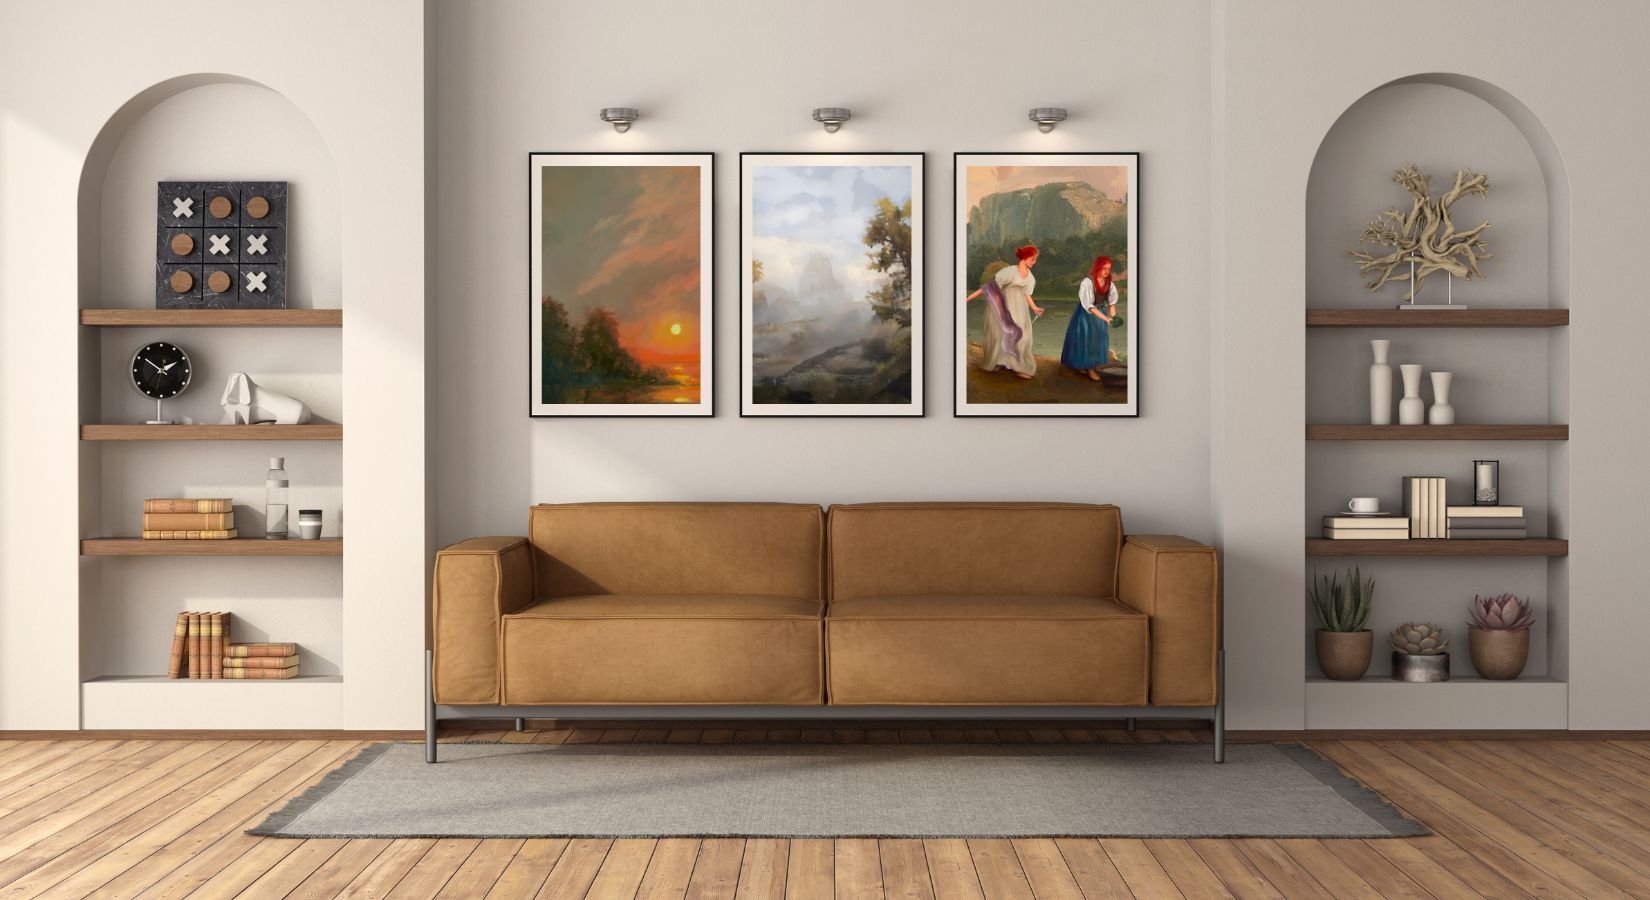
Gallery frames are a popular choice for contemporary artworks, known for their simple and modern look. Characterized by clean lines and a minimalist design, these frames help to highlight the artwork without overpowering it. Available in various finishes like black, white, and metallic tones, gallery frames compliment a wide range of styles and color schemes, making them a versatile option for showcasing oil paintings and other modern artworks.
Ornate frames
Ornate frames offer a decorative touch, adding elegance to your oil paintings. These frames feature intricate designs like scrollwork and floral motifs, available in classic gold and silver finishes as well as modern metallic tones. Adding depth and dimension, ornate frames can complement a variety of painting styles, enhancing the overall visual appeal of your artwork with a touch of luxury.
Floating frames
Floating frames offer a modern and unique way to display your oil paintings by creating the illusion that the artwork is floating within the frame. These frames consist of two panes of glass or acrylic held together by a minimalistic frame, providing a sense of depth and dimension to your artwork. Available in various finishes and styles, floating frames can complement a wide range of painting styles, adding a contemporary touch to your oil paintings.
Cutting Dimensions
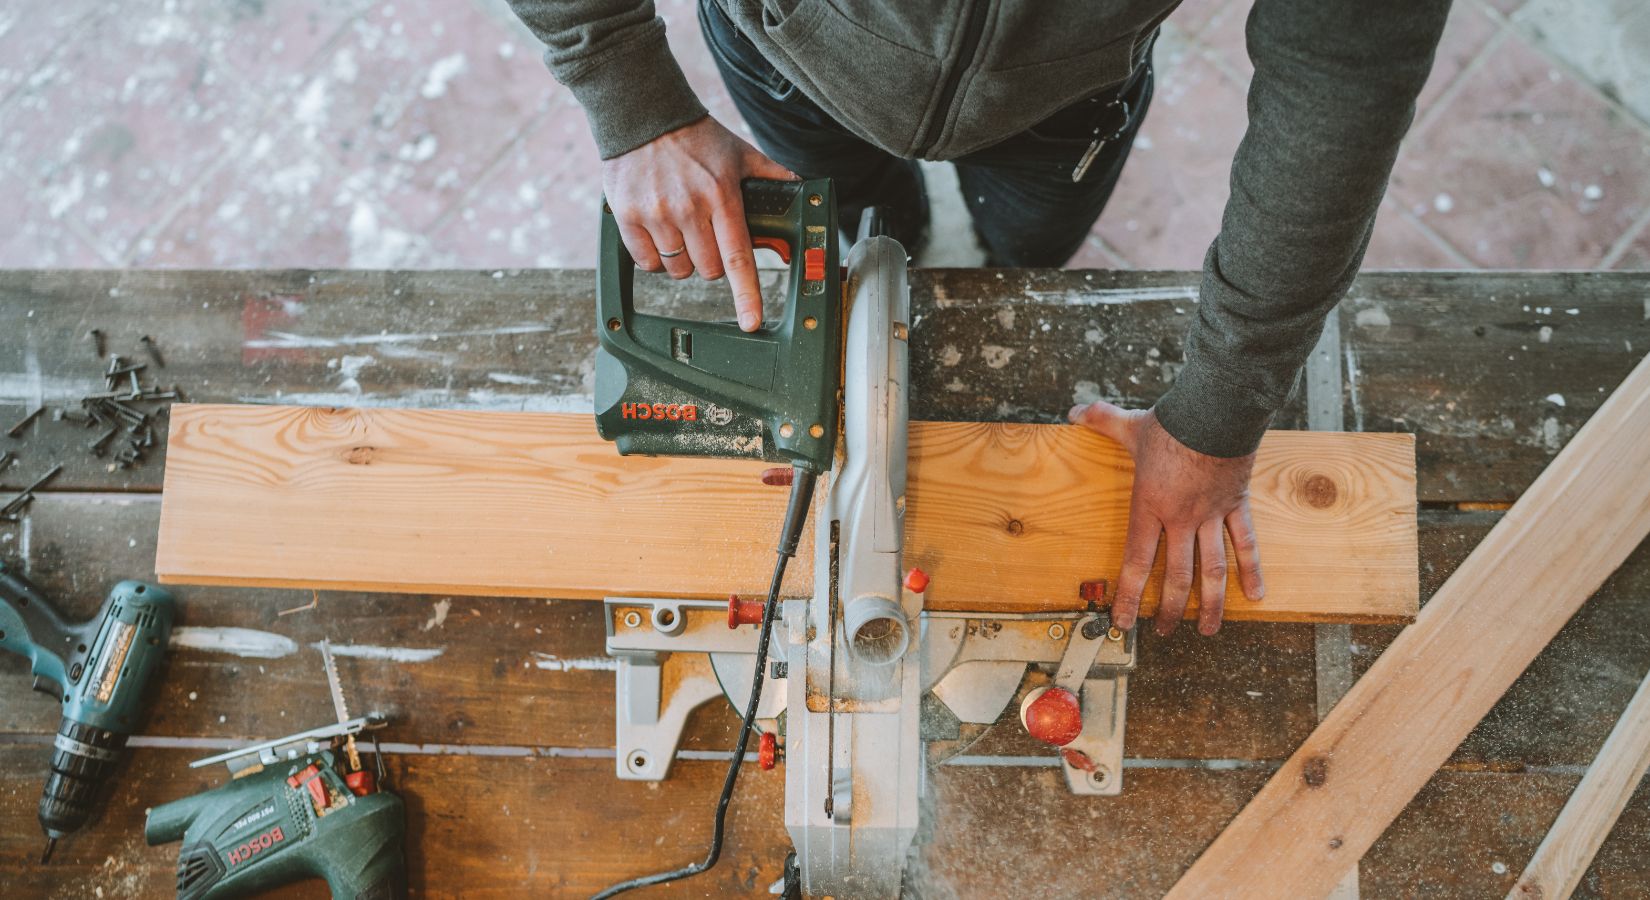
When cutting the pieces for your frame, precision is key to achieving a professional-looking finish. Using a miter saw, carefully cut each corner at a 45-degree angle to create clean and seamless joints. Take the time to measure twice and cut once to avoid any mistakes. Additionally, consider using a miter box or a miter saw with a laser guide to ensure accurate cuts. Remember to account for the width of the frame when measuring and cutting the pieces to ensure a perfect fit. Taking the time to cut your frame pieces accurately will result in a beautifully finished frame that enhances the appearance of your oil painting.
Assembly
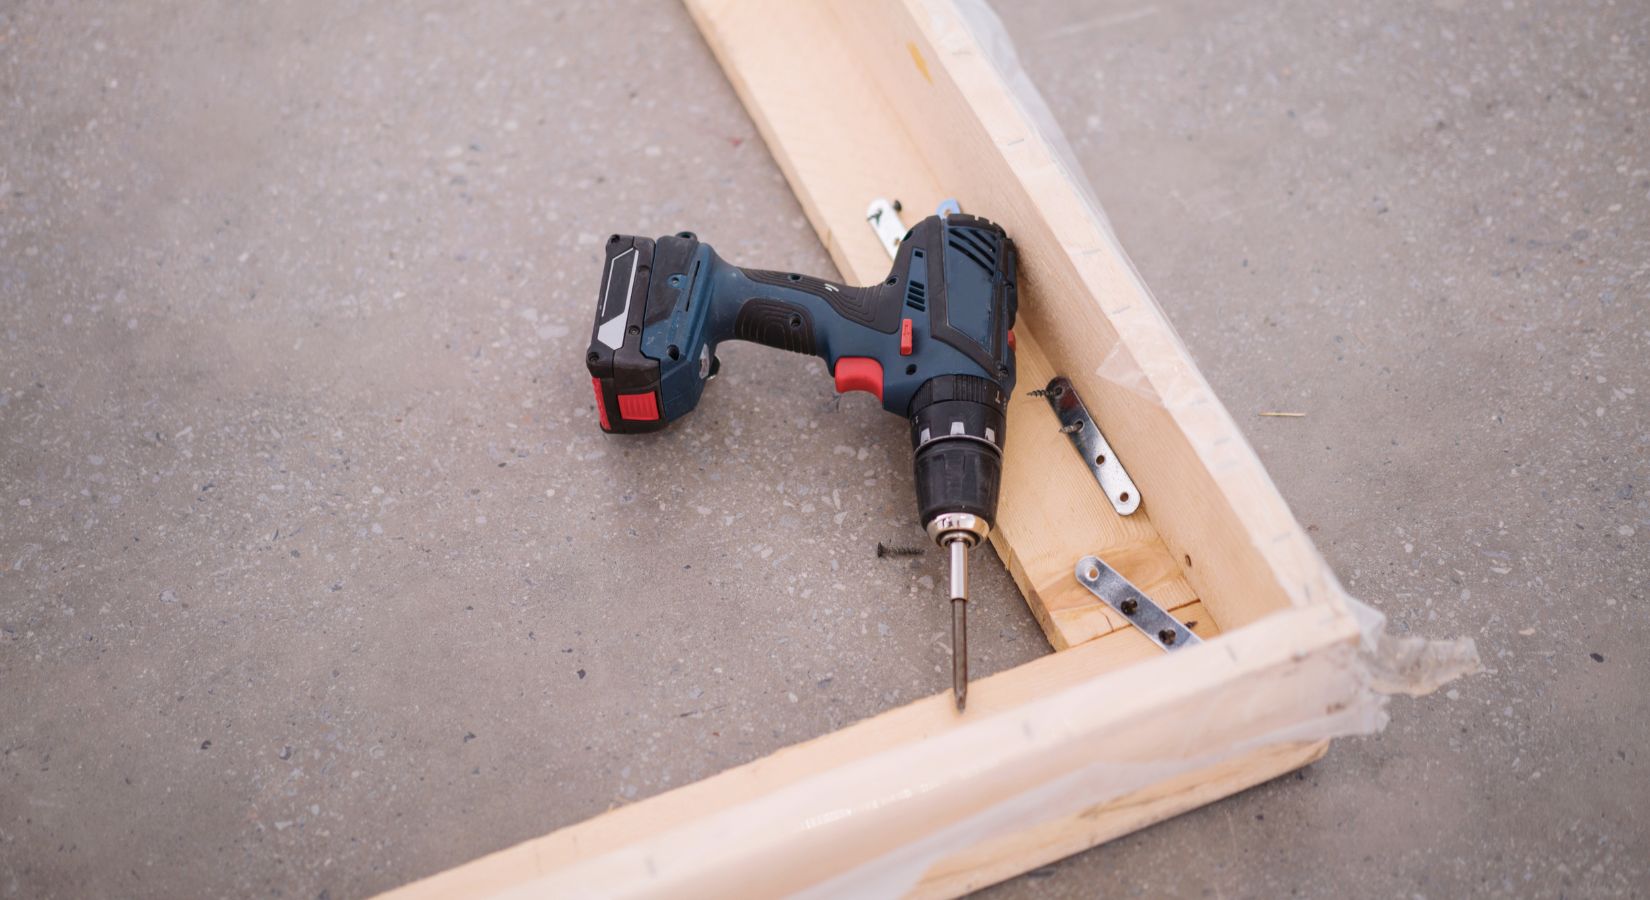
Assemble your frame by applying wood glue to the mitered edges and using clamps to hold the pieces together while the glue dries. Once assembled, you can enhance the wood's natural beauty by adding a finish.
Mounting Your Painting
Before mounting your oil painting, ensure that the frame's interior is clean and free of debris to avoid damage to the artwork. Use mounting tape or screws to secure the painting to the backing board, ensuring that it is centered and level within the frame. Take your time to ensure the painting is securely fastened to prevent any shifting or damage over time.
Hanging Your Painting

When adding hanging hardware, consider the weight of your frame and painting to ensure the hardware can support it. Use appropriate screws or nails to attach the hardware securely to the frame. Once hung, step back and adjust the positioning if needed to ensure your painting is perfectly displayed and ready to be admired.
Conclusion
DIY framing allows you to customize the look of your oil paintings while saving money compared to professional framing services. It also gives you the satisfaction of creating something unique and personalized. By following the steps outlined in this guide and using high-quality materials, you can ensure that your oil paintings are displayed in a way that enhances their beauty and protects them for years to come. So roll up your sleeves, gather your materials, and embark on this creative journey to frame your oil paintings with style and flair!